
Now, this might not sound like a good substitute, in fact, it sounds just as decadent as cake is (which it may be), but I would argue that peanut butter cups are better for you in several ways. First of all, using dark chocolate eliminates a lot of the sugar present in milk chocolate. It contains more of the cocoa bean, which is where all those yummy flavanoids and antioxidants that make chocolate healthy come from. Secondly, making your own peanut butter filling helps you, again, control sugar content by adding your own amount of sweetener (if any). If you choose a peanut butter that is already sweetened, then adding sugar is unnecessary. I use bulk peanut butter that you can get from dispensers at health food stores. It contains ground up peanuts, unsalted and unsweetened, so I use a small amount of sugar for my filling. Thirdly, I use a little bit of coconut oil and coconut cream for the peanut butter filling, which is very good for you. Lastly, these rich little peanut butter cups satiate my sweet tooth better than an entire piece of cake. One or two bites and I'm good.
Or, you can skip the logic, and just have fun making these! They are fun and delicious. The only down side to them is they must be kept in the freezer or refrigerator or they might melt. So, they might not make a great gift to send through the mail, but they would certainly be great for a little chocolate pick-me-up, or a treat to share with friends.
Oh, also, these are vegan and gluten-free! :)
T.E.A's Dark Chocolate Peanut Butter Cups
makes about 8 small cups
1 1/2 cup dark chocolate chips or chopped chocolate bar
1/2 cup peanut butter
1/4 cup coconut cream (or whole coconut milk)
1 TB coconut oil (unrefined is great because it tastes more like coconut)
1-2 tsp sweetener (honey, agave, brown sugar)


 |
| This is coconut cream...the soft, buttery cream that rises to the top of whole coconut milk. If you aren't lucky enough to find a can that has seperated like this, using the whole milk is fine too. It will be just slightly more liquidy. |
Equipment:
double boiler (or sauce pan with stainless steel bowl over it)
little tart tins or candy molds or cupcake wrappers
 |
| It's 1:22...perfect time for double boiling! |

1. Set up your double boiler: fill a saucepan up about half way with water and set a stainless steel just so it rests on top. The bowl should not touch the water. Heat the double boiler until the water boils gently. Add chocolate to the bowl and slowly melt. When chocolate is melted through, turn off the heat and leave the bowl to rest. This will keep the chocolate warm and ready to pour.

NOTE: you can use the microwave to melt chocolate, but you have to be much more careful. A double boiler ensures that the chocolate is not touching direct heat, and so burns much less easily. Chocolate, in the microwave, can burn quickly, so heat it for a few seconds at a time and stir in between so the chocolate melts evenly. It shouldn't take more than a few minutes total to melt the chocolate through.
NOTE #2: If using a double boiler, make sure to keep water/steam out of the chocolate. If even a tiny drop of water gets in the chocolate, it could seize up.
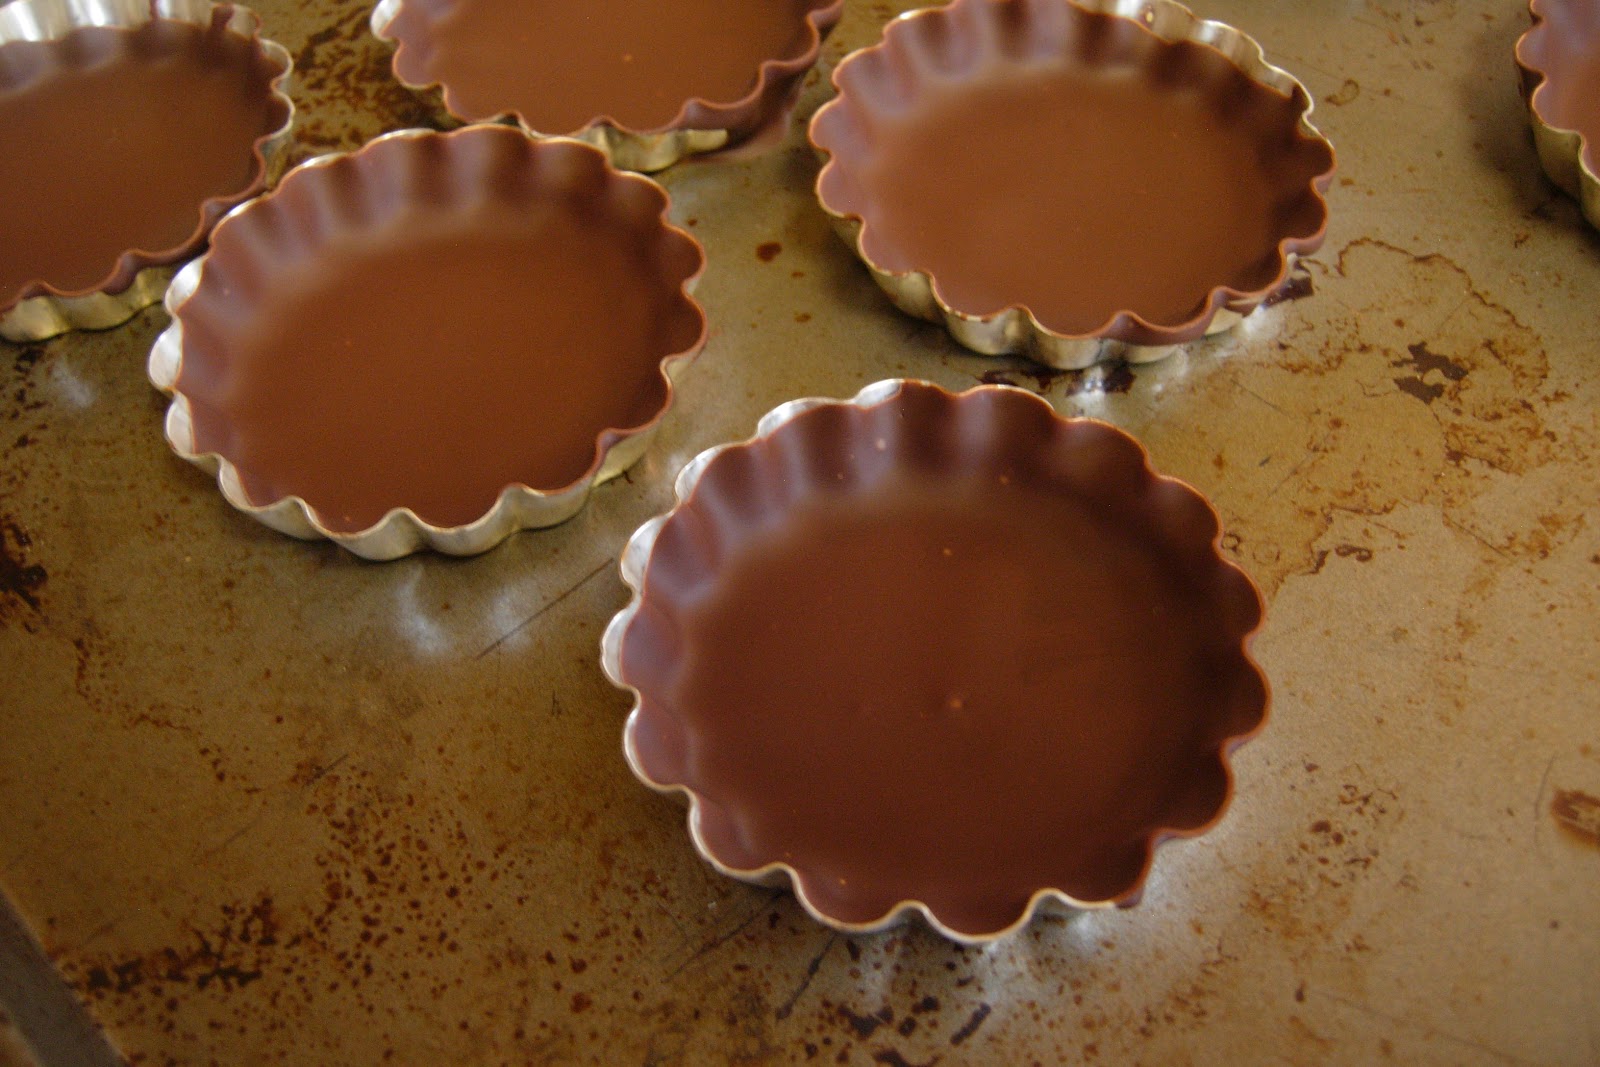
2. Pour a small amount of melted chocolate into your tart tin or cupcake wrapper. Turn the tin around to coat all the sides.


3. Put all your coated tins/wrappers on a baking sheet and put into the freezer to harden.
4. In a separate bowl, add in peanut butter, coconut oil, coconut cream, and sweetener. Microwave for a few seconds to warm and melt the oil or, if you have another double-boiler-safe bowl, you can use the double boiler to heat it through. Whisk to combine. Set aside to cool.

5. Take chocolate molds out of the freezer and pour a small amount of peanut butter filling into each. The filling should reach about half way up the chocolate.

6. Put the filled molds into the freezer again, for about 5 minutes or until firm.
NOTE #3: I made the mistake of trying to top the peanut butter filling with warm chocolate before they firmed up...and that was a melt-y mess. It is best to be patient and make sure the chocolate and the filling are firm before topping them off.
7. Once the filling is firm, top the molds off with more melted chocolate until the molds are full.

8. Place the cups into the freezer once again to harden. Once the cups have hardened, you can pop them out of the tins or wrappers. Store in an airtight container in the freezer or refrigerator.


One Last Tip: Have any extra chocolate left over? Pour it onto a piece of parchment paper and set it in the freezer along with your peanut butter cups. Once it is hard again, it will easily come off the paper and you can store it to use again later. I keep all my chocolate in the freezer to stay hard and crisp!

Have fun and Enjoy!
No comments:
Post a Comment