So....I made a spicy Asian Chicken Noodle Salad last night that I was so excited to blog, but...I've already done this recipe before back in January! However, I decided to share this version of it because I think I succeeded in making it even better. Plus, this is my cold, summer version. And...I have better pictures since last time all my pictures were terrible.
My original post can be found here: Asian Chicken Noodle Salad. All the recipes and directions are on that post. But this new version is better because I took my own advice and added a lot of veggies! Not only did more veggies bulk up the salad, but it made it added more color, texture, and flavor. My one piece of advice for choosing the veggies you would like in this salad, is to choose veggies that hold up well in sauce. That way, this salad can be easily refrigerated and will taste great the next day. I made a huge bowl of this salad, and it lasted us two full days.
The veggies I chose and would recommend are as follows:
julienned red bell pepper (or any color you like)
shredded red or green cabbage (or both)
chopped cilantro
shredded or thinly sliced carrot
chopped zucchini
white bean shoots
chopped green onion
I added peanuts for crunch, but did not add peanut butter to my sauce. I also used thin rice noodles in place of udon. Clearly, you can mix and match as you like, but the basic recipe is amazing. It is great hot or cold and makes a full dinner!
Now, these cookies sound really good, but...they were not quite what I was expecting. Gluten-free breads/cookies/pastries are really hard to make taste like their wheat counterparts because they do not contain gluten (which is a protein that helps make doughs elastic). It is hard to achieve that nice, chewy consistency that good breads or cookies are known for. However, I am fascinated by recipes that try to make something familiar out of unusual ingredients. Plus, coconut flour is touted to be high fiber, high protien, and low-carb, so it's good for you!

This recipe deserves a disclaimer: this is not your average chocolate chip cookie! Don't expect something gooey, chewy, or even crunchy. These cookies, while good, are more like your average shortbread: dense, dry, crumbly. I was really disappointed when I bit into the first one while it was hot. It was almost chalky in texture. After I let them cool a bit, they improved slightly. They tasted OK, but were still dry and needed to be paired with tea.
First Try:
T.E.A's Gluten-free Cinnamon Coconut Chocolate Chip Cookies
makes about 12-15 cookies
1 cup coconut flour
1/4 plus 1 TB brown sugar
1/2 tsp cinnamon
pinch salt
1/2 cup chocolate chips
2 eggs
1tps vanilla
almond milk, enough to bring the dough together, about 1/4 cup
1. Preheat oven to 350F. In a mixing bowl, add flour, sugar, cinnamon, salt, and chocolate chips. Mix until well combined.
2. In a separate bowl or measuring cup, add eggs and vanilla. Whisk well with a fork. Add to dry mixture and mix well. Dough will be crumbly. Add enough almond milk to bring the dough together. *Dough will be slightly crumbly, but should be wet enough to roll into balls.
3. For each cookie, roll about 1-2 TB of dough into a ball and flatten slightly with your hands. Place on baking sheet covered with parchment paper.
4. Bake for 12-15 mins. Cool completely.
Now, if this is what I expected the cookies to taste like, I don't think I would have been so disappointed. These actually aren't bad little short breads. But I was determined to make a better batch. Here is the list of pros and cons about the cookie which helped me determine how I wanted to change the recipe:
 Pros:
Pros:
-coconut flour tastes and smells like coconut
-nice little shortbread/tea cookie
Cons:
-too dry
-not enough sugar
-not enough fat
-not sure if the chocolate chips actually helped or hindered? They were a bit bitter.
First of all, my first recipe had very little fat in it. I got a basic coconut flour cookie recipe off the Internet and changed it slightly to fit what I wanted in my cookie. The only fat in it was egg, and it wasn't enough to counteract the very pasty coconut flour. My next experiment was adding in coconut oil to try and make these more palatable.
I also added more sugar. I skimped on the sugar the first time because I don't like my cookies overly sweet, but they needed a little more. Plus, I thought more sugar might give them a little more crunch.
I also tried flattening the cookies a little bit more. I thought a flatter cookie would be less dense. I used a fork sprayed with oil to flatten them evenly.
Also, the original recipe used 1 banana or 1/2 cup applesauce instead of eggs. This makes the cookie vegan as well. I didn't have either of these at home, so I used eggs instead, but the fruit might actually be good in these, too.
Second Try: (I made a smaller batch)
Coconut Shortbread Cookies
makes 12-15 small cookies
1/2 cup coconut flour
1/4 cup brown sugar
pinch of salt
1 TB coconut oil, melted (or butter if you prefer)
1 egg
1 tsp vanilla
almond milk, enough to bring the dough together
Directions: see above, except flatten cookies with a fork for more even baking.
The Verdict: Well, the second recipe was better. They were soft and buttery, and had a nice, smooth texture compared to the first. But they were still dry. I'm pretty sure this is due to the lack of gluten in the coconut flour. Without the gluten protein to hold things together, the flour remains soft and chalky.
But if you need a good gluten-free cookie, this recipe is good. Just expect that these will be slightly dry, but will still make a good little tea cookie. You could also serve them with jam, or crumble them onto ice cream.
Enjoy! :)
I will start out by saying that I didn't find the holy grail this time. In my quest to make the perfect pesto, I still have a ways to go. But, that being said, I made some pretty tasty pesto: creamy, fragrant, herbaceous.
The best pesto I ever had (or at least remember having) was not long ago at my mother-in-laws house. Now, it could have been so delicious because we were all cooking together in her gorgeous kitchen, laughing, drinking wine, and have an overall fantastic time. But her pesto was something special. It was so simple, but clean, fresh, and perfectly seasoned. I wish desperately to make pesto that good again.
Great pesto (in my opinion, of course) should be very smooth, so it can be spread on toast, mixed with veggies, or incorporated into pasta. It should be creamy and thick, but should have the hint of tart lemon to brighten it. It should be fully fragrant with basil; the herb flavor should never be covered by the other ingredients. It should also be brightly green and beautiful.

Now that it is high summer and the basil is in abundance. It is the perfect time to try and make great pesto. I started with the basic ingredients: basil, lemon juice, garlic, olive oil, and pine nuts. The one ingredient I did not include, might have been my ultimate downfall: cheese. A great pesto includes freshly grated hard cheese, such as Parmesan. The pine nuts add the bulk of the thickness and creaminess, but cheese...well, we all know how good cheese is. I believe the addition of grated cheese brings that perfectly salty, tart flavor that great pesto is known for. Unfortunately, cheese isn't something I can eat. For that reason alone, I may never be able to make the "perfect pesto."
I have tried making pesto in other ways before. Spinach pesto is quite common, and is a good alternative for people who don't like basil. I have tried making pesto with different nuts, such as walnuts or sunflower seeds...but they just don't cut it. I think walnuts are much too bitter, and sunflower seeds, while delicious, do not break down well when pureed. My last pesto was unpleasantly chunky. Pine nuts are essential to making a smooth sauce.
If you've never tried pesto, or if you need a new sauce for your chicken tonight, or if you just haven't yet perfected your own pesto recipe, now is the time to experiment! The recipe below is what I made last night. Although it wasn't "perfect," it was healthy, filling, and absolutely delicious. I would recommend trying different proportions of the ingredients. I would have added a few less pine nuts, and maybe a little more basil. But I'll have to keep trying!
T.E.A's Pesto
makes about 1 cup
2 handfuls fresh basil (or spinach)
1/2 cup pine nuts, toasted
2 tsp lemon juice (more or less to taste)
1 garlic clove
good quality olive oil
salt to taste
Optional, but highly recommended:
1/2 cup grated hard cheese, such as Parmesan
1. To toast pine nuts: heat a skillet on high and add nuts. Shake pan continuously until nuts begin to smell fragrant and turn golden brown. *Watch out! Pine nuts burn easily!
2. In a food processor, add basil, toasted pine nuts, lemon juice, garlic, cheese, and about 1 tsp salt. Puree until mixed together. While the food processor is running, drizzle in olive oil until the whole mix comes together in a thick sauce. Add more olive oil if you like a runnier pesto. Taste and adjust seasoning as necessary.
3. Serve immediately or refrigerate for up to 5 days or freeze for up to 3 months (whoo! pesto in December!)
Way to use pesto:
-mix into pasta
-mix into roasted veggies
-use as a sauce on meats...it would be spectacular on lamb kabobs!
-spread on toast or crackers
-use as a dip
-use as a spread on sandwiches
-use instead of tomato sauce on pizza
Be creative and have fun! Enjoy! :)
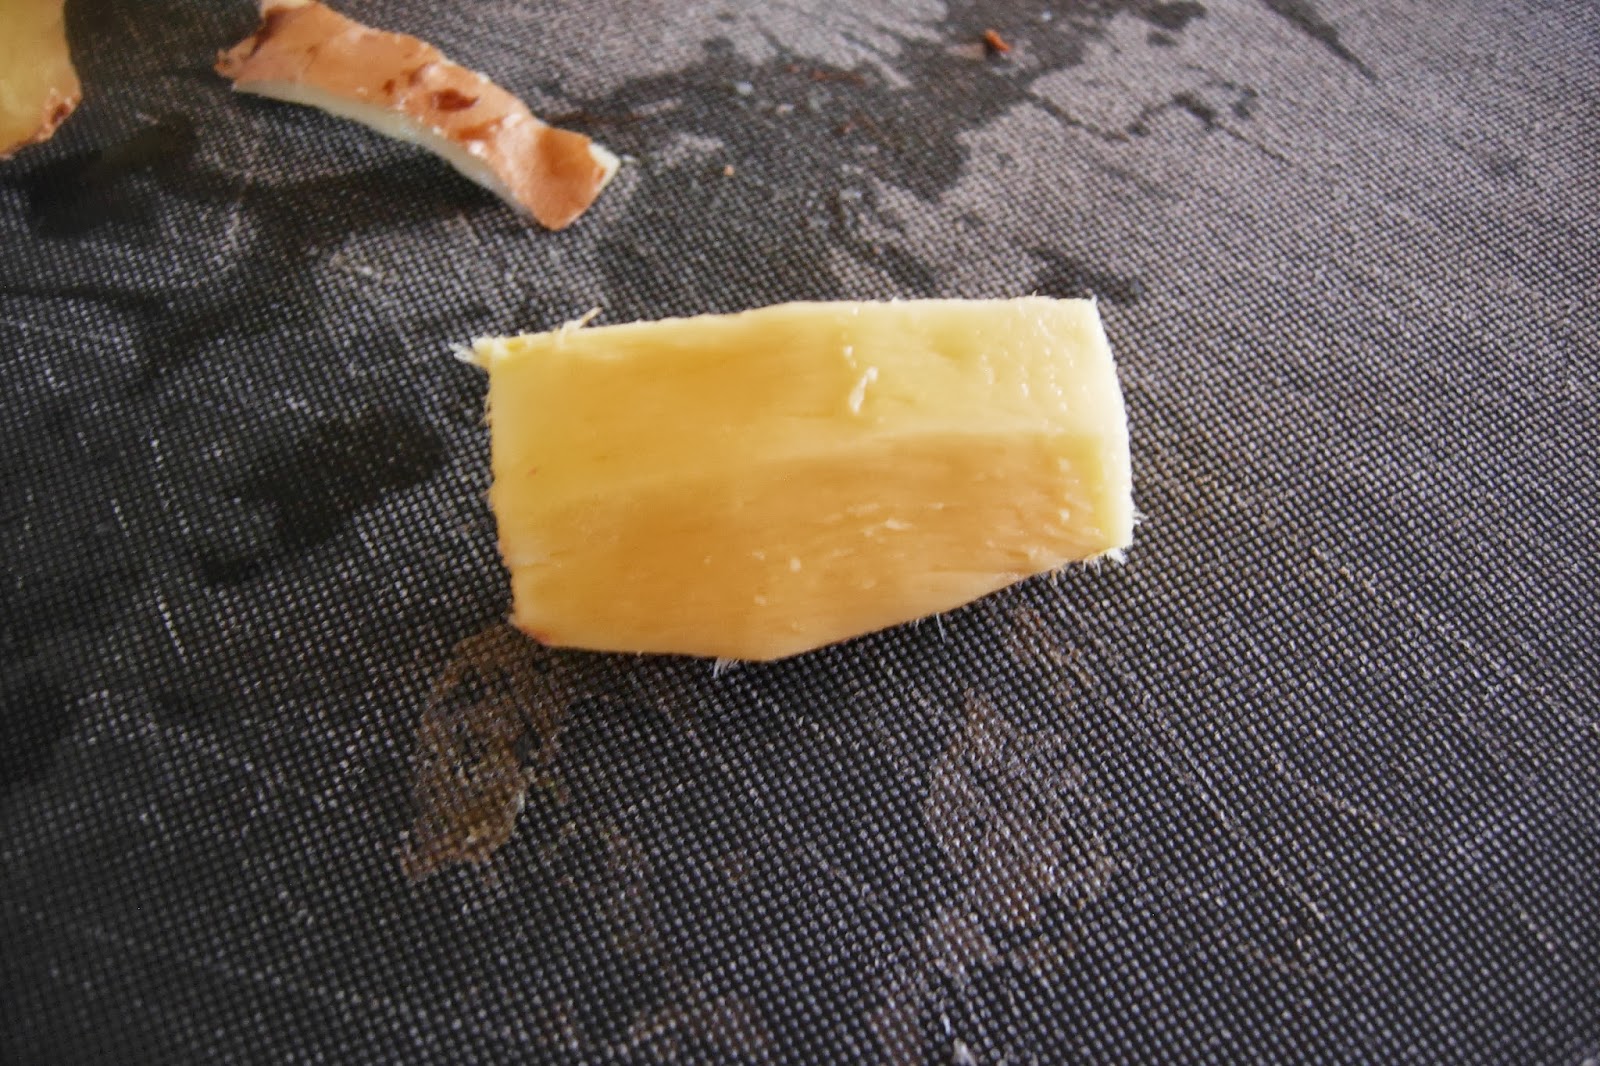
Dal is a wonderful, homey side dish. I didn't know what it was until culinary school, but ever since, I have had great respect for it. Dal is a traditional Indian dish that uses either peas, beans, or lentils that have their hulls removed and are split in two (according to wikipedia). It is cooked with ginger, onion, chilies, and a little sugar into a thick, spicy porridge.
My grocery had several different kinds of dal in the Indian section, and I selected one that I thought looked good. They were small, golden, split beans. I later learned (from the packaging) that they were split garbanzo beans. However, if you can't find traditional dal, you can use any type of lentil available. Red lentils would be especially pretty.
So, what do I really like about dal?
1. It is a simple dish that can be made thick or thin depending on how you would like to serve it...as a side dish or a soup.
2. The flavorings are quintessentially Indian: warm, spicy, smoky, with a hint of sweetness.
3. Served as a side dish, it is easily paired with many different kinds of meats and salads.
4. It's great for breakfast, lunch, or dinner!
Any drawbacks?
1. It takes a long time to cook. This would be the perfect crock pot dish because the beans really do take quite a long time to soften. But I must clarify: there is a difference between a soft lentil, and a very soft, porridge-y lentil. Soft lentils are perfect for salads or soups because they are al dente which means they are soft enough to eat, but will hold up in and not break down in the dish they are served in. Dal, on the other hand, should be very soft, so the beans/peas/lentils must cook a long time. I cooked mine for about 1 hour, but they were still a bit firm for my liking. Though enough of them broke down in the liquid to form a thick, porridge-like consistency, and the taste was still delicious!
Despite these drawbacks, if you have the time (or a crock pot), I can highly recommend this dish. I paired it with Tahini chicken and a simple, green salad.
T.E.A's Dal
makes about 3-4 cups
1 cup Channa Dal (or again, any lentil or split pea you can find)
4 cups water
1 cup onion, small dice
2-3 hot chilis, minced
1 TB mustard seeds
1 TB ginger, fine mince
2 cloves garlic, fine mince
1 cup tomato, large dice
1 tsp brown sugar (or more to taste)
salt to taste
oil for sauteing (I used coconut)
Optional spices:
paprika
smoked paprika
tumeric
garam masala
lime juice
cumin
corriander
Optional toppings:
chopped cilantro
plain yogurt
fresh, chopped tomato
cooked rice
1. In a fine colinder, rinse dal well until the water runs clear. Pour into a medium sauce pan. Add water. Bring to a boil, reduce to a simmer. Cover and simmer for 1 to 1 1/2 hours or until very soft with a porridge -like texture. Salt to taste (adding salt before cooking will lengthen cooking times). *Watch the water content. You might need to add more water throughout the cooking process. Or you can add a lot more water and turn this into a soup! I liked my dal very thick, so I only added a little more water.
2. When dal is done cooking, heat 1-2 TB coconut oil in a large skillet on medium high heat. When it has heated, add onion, chilis, and mustard seeds and a little salt. Saute until onions are soft and slightly browned, about 8 mins.
3. To the onion mix, add garlic, ginger, tomato, sugar and saute until fragrant and the tomatoes have broken down.
4. Add tomato mixture to dal. Combine well, taste, and adjust seasoning (salt) as necessary.
5. Serve hot.
Note: My dal reheated well for breakfast! It is delicious with an egg on top! Enjoy! :)
Here's another complex salad! I have been having the most fun cooking these lately. I love making all the different components, and then putting them all together into one, huge, entree-sized salad. This one, in particular, was really filling, and the ingredients combined beautifully.
This salad was inspired by this recipe, but, of course, I gave it my own spin!
Salad Components:
1. baby mixed salad greens (I bought a big box of these), though you could use any salad greens you like
2. Marinated Tomato Salad
3. Roasted Beet Slices (and sauteed beet greens if you get beets with the leaves still attached!)
4. Fried Millet Fritters
5. Roasted and Shredded Chicken
Marinated Tomato Salad
makes about 1 1/2 cups
I absolutely love this and want to put it on everything! I was able to find some super ripe, super juicy, almost burgundy, heirloom tomatoes which were amazing. But any good, ripe tomato will be fantastic!
1 large tomato
1 TB capers
1 TB kalamata or black olives, minced
1 clove garlic, finely minced
1-2 TB balsamic vinegar
1/4 cup (or more) good quality olive oil
salt and pepper to taste
1. Chop tomato into bite-sized chunks and place in a bowl. Add the rest of the ingredients and stir well. Marinate at least 1 hour.
This will be super juicy! You can strain out the tomatoes, olives, and capers and use as a salad garnish. You can then use the delicious juice as salad dressing!
Roasted Beets
makes about 1 cup sliced beets
4-5 medium beets
optional: salt to taste
1. Preheat oven to 400F. Wash beets well. Trim off both ends. Wrap in aluminum foil and bake in oven for about 45 mins or until a butter knife will easily go through them.
2. Let beets cool. Peel off skin of beets. Slice into rounds.
3. Eat immediately or refrigerate. Great as salad garnish.
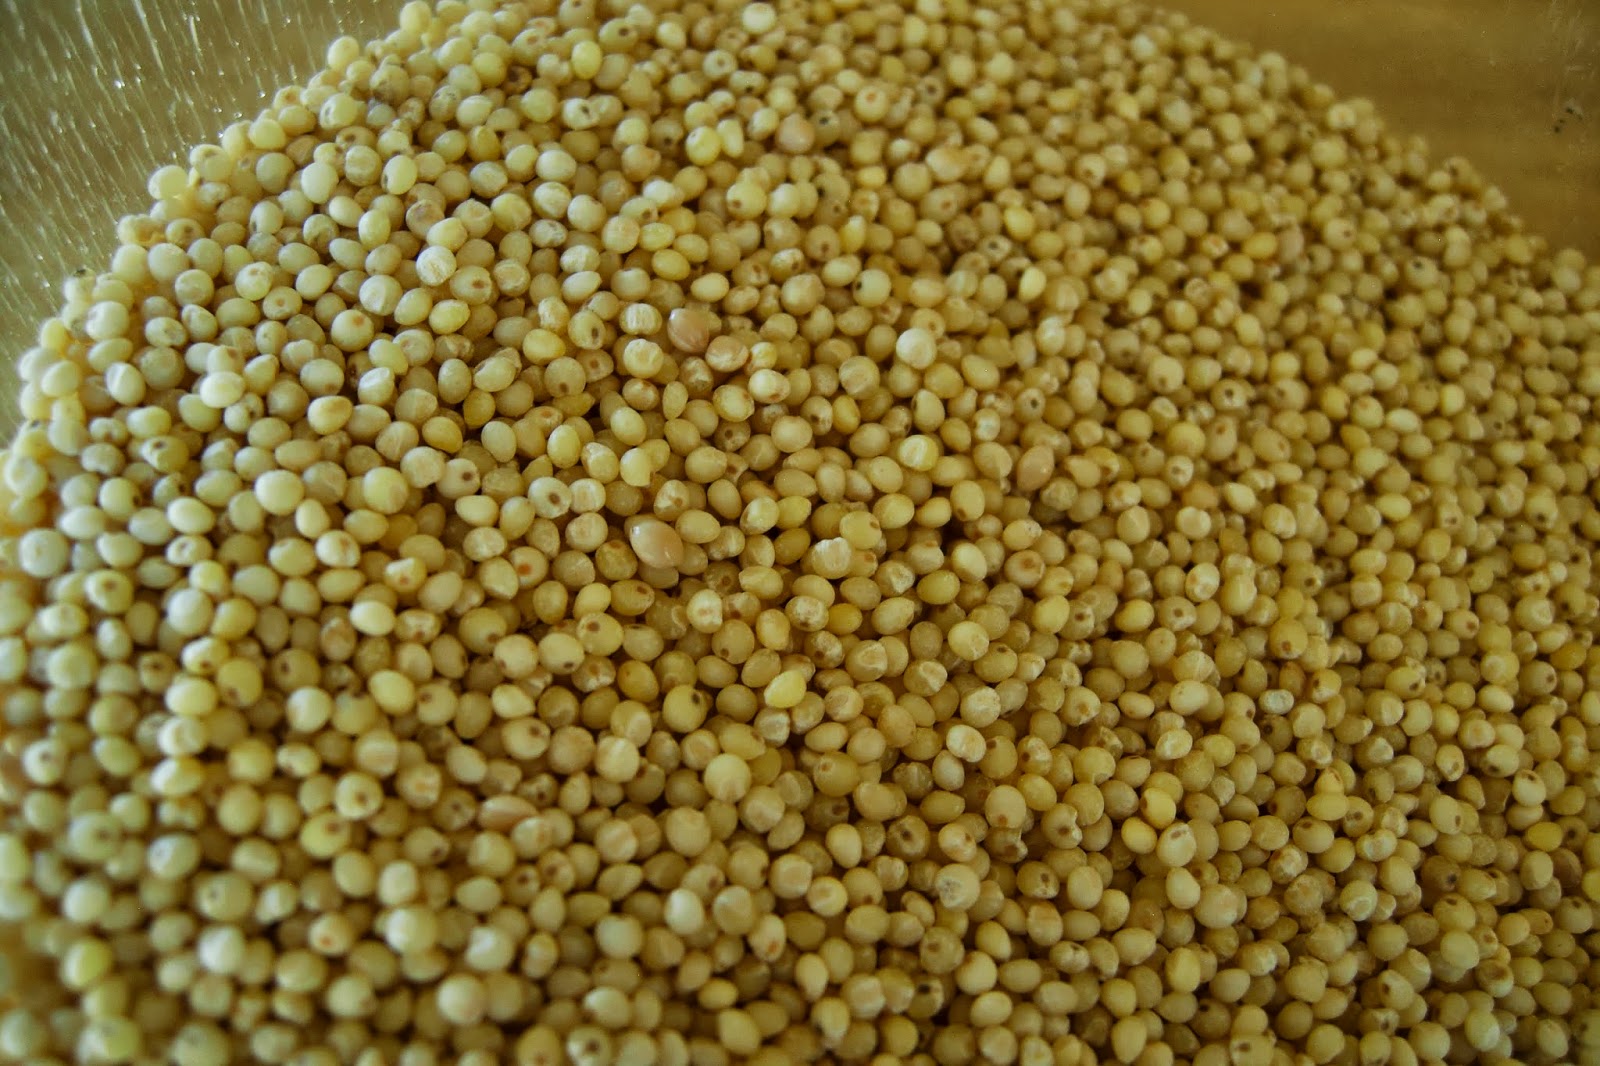
Fried Millet Fritters
makes about 6 medium fritters
I used millet in my fritters because I was trying to use up what I had in my pantry. This is the only recipe, so far, that I've liked with millet it in. If you don't have millet, you can also use couscous, or even quinoa, though each will have different cooking times.
1/2 cup millet
1 cup water
1 tsp salt
1/2 cup chopped green onion
more salt and pepper as needed
2 eggs*
oil for frying (I used coconut)
Optional: chopped cilantro or parsley
1. In a dry pot, roast millet on medium high heat until it starts to pop and turn golden brown. Shake the pan continuously to avoid burning. (A lot like making popcorn!)
2. When the millet is ready, pour in water and salt. Beware hot water splashes as it goes into the pot!
3. Cover pot, reduce heat to medium low, and simmer millet about 15 mins or until most of the water is absorbed.
4. Turn off heat and let millet sit for about 10-15 mins. Uncover and spread out on baking sheet or flat plate. This will help the millet cool quickly for fritter preparation. Cool about 15 mins.
5. Pour cooked millet into a bowl and add green onion, and more salt and pepper as necessary.
6. Add 2 eggs to the mix (*actually, the recipe only called for 1 egg, but my mixture seemed too loose to fry, so add 2 eggs if needed), and stir until well combined.
7. Heat a frying pan on medium high heat (I used the one I fried my chicken in!) with enough oil to coat the bottom. When the oil gets shimmery and pulls away from the pan, add in millet mix 1/4 cup at a time. Tamp down the top of the fritter until it is about 1/2 inch thick. It will fry more evenly this way. I was able to fit 3 fritters per pan, so I had to make 2 batches.
8. Fry fritters until they are golden brown on both sides. This should take about 2 minutes or less per side.
9. Drain fritters on paper towels.
10. Serve immediately or keep warm in warm oven (170F) until ready to eat.
Roasted Chicken Legs
This is how I make chicken all the time. You can use any cut of chicken, but I recommend getting chicken with the skin on because that protects the meat when you sear it and it gets nice and crispy. If you get chicken without skin, you can skip the searing part, and simply bake it for about 30 minutes or until done.
2 chicken legs, thighs and skin on
salt and pepper to taste
oil for frying
1. Preheat oven to 400F. Prepare a baking dish or pan to put the chicken on once it is seared.
2. Heat frying pan on medium high heat and add in enough oil to coat the bottom. Salt and pepper chicken well. When the oil is shimmery, add in chicken legs, skin side down. When the skin is nicely golden brown, turn over and cook for about 2 more minutes.
3. Put chicken in baking dish, place in the hot oven, and bake for about 25 minutes or until meat is cooked through.
4. Eat immediately with salad, or let cool for about 15-20 minutes and shred meat to go on top of salad.
Salad Assembly:
Stack all ingredients as you like and enjoy!
This is also great for breakfast with a fried egg!! :)