Tuesday, July 9, 2013

Roasted Beet Salad with Fried Millet Cakes and Roasted Chicken

Here's another complex salad!  I have been having the most fun cooking these lately.  I love making all the different components, and then putting them all together into one, huge, entree-sized salad.  This one, in particular, was really filling, and the ingredients combined beautifully.
This salad was inspired by this recipe, but, of course, I gave it my own spin!


Salad Components:

1. baby mixed salad greens (I bought a big box of these), though you could use any salad greens you like
2. Marinated Tomato Salad
3. Roasted Beet Slices (and sauteed beet greens if you get beets with the leaves still attached!)
4. Fried Millet Fritters
5. Roasted and Shredded Chicken

Marinated Tomato Salad
makes about 1 1/2 cups

I absolutely love this and want to put it on everything!  I was able to find some super ripe, super juicy, almost burgundy, heirloom tomatoes which were amazing.  But any good, ripe tomato will be fantastic!


1 large tomato
1 TB capers
1 TB kalamata or black olives, minced
1 clove garlic, finely minced
1-2 TB balsamic vinegar
1/4 cup (or more) good quality olive oil
salt and pepper to taste

1. Chop tomato into bite-sized chunks and place in a bowl.  Add the rest of the ingredients and stir well.  Marinate at least 1 hour.  


This will be super juicy!  You can strain out the tomatoes, olives, and capers and use as a salad garnish.  You can then use the delicious juice as salad dressing!


Roasted Beets
makes about 1 cup sliced beets

4-5 medium beets 
optional: salt to taste


1. Preheat oven to 400F. Wash beets well.  Trim off both ends.  Wrap in aluminum foil and bake in oven for about 45 mins or until a butter knife will easily go through them.


2. Let beets cool.  Peel off skin of beets.  Slice into rounds.


3. Eat immediately or refrigerate.  Great as salad garnish.


Fried Millet Fritters
makes about 6 medium fritters

I used millet in my fritters because I was trying to use up what I had in my pantry.  This is the only recipe, so far, that I've liked with millet it in.  If you don't have millet, you can also use couscous, or even quinoa, though each will have different cooking times.
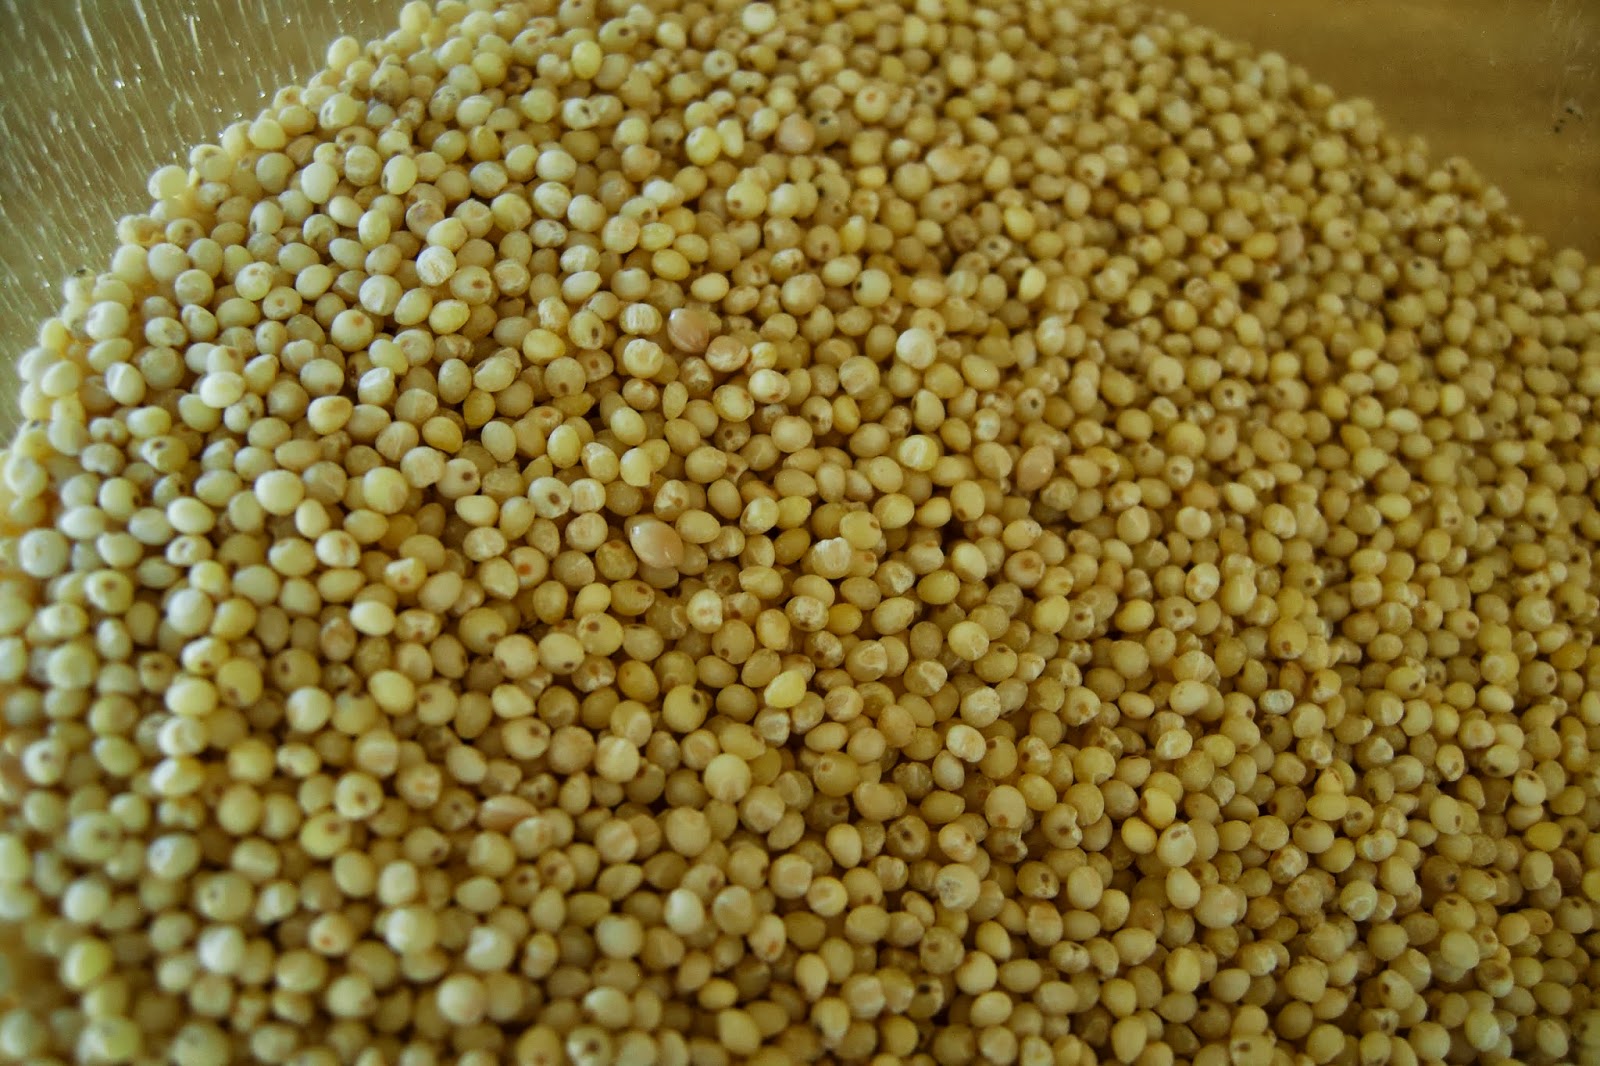


1/2 cup millet
1 cup water
1 tsp salt
1/2 cup chopped green onion
more salt and pepper as needed
2 eggs*
oil for frying (I used coconut)
Optional: chopped cilantro or parsley

1. In a dry pot, roast millet on medium high heat until it starts to pop and turn golden brown.  Shake the pan continuously to avoid burning. (A lot like making popcorn!)


2. When the millet is ready, pour in water and salt.  Beware hot water splashes as it goes into the pot!
3. Cover pot, reduce heat to medium low, and simmer millet about 15 mins or until most of the water is absorbed.
4. Turn off heat and let millet sit for about 10-15 mins.  Uncover and spread out on baking sheet or flat plate.  This will help the millet cool quickly for fritter preparation. Cool about 15 mins.


5. Pour cooked millet into a bowl and add green onion, and more salt and pepper as necessary.
6.  Add 2 eggs to the mix (*actually, the recipe only called for 1 egg, but my mixture seemed too loose to fry, so add 2 eggs if needed), and stir until well combined.


7. Heat a frying pan on medium high heat (I used the one I fried my chicken in!) with enough oil to coat the bottom.  When the oil gets shimmery and pulls away from the pan, add in millet mix 1/4 cup at a time.  Tamp down the top of the fritter until it is about 1/2 inch thick.  It will fry more evenly this way.  I was able to fit 3 fritters per pan, so I had to make 2 batches.


8. Fry fritters until they are golden brown on both sides.  This should take about 2 minutes or less per side.
9. Drain fritters on paper towels.
10. Serve immediately or keep warm in warm oven (170F) until ready to eat.


Roasted Chicken Legs

This is how I make chicken all the time.  You can use any cut of chicken, but I recommend getting chicken with the skin on because that protects the meat when you sear it and it gets nice and crispy.  If you get chicken without skin, you can skip the searing part, and simply bake it for about 30 minutes or until done.

2 chicken legs, thighs and skin on
salt and pepper to taste
oil for frying

1. Preheat oven to 400F.  Prepare a baking dish or pan to put the chicken on once it is seared.
2. Heat frying pan on medium high heat and add in enough oil to coat the bottom.  Salt and pepper chicken well.  When the oil is shimmery, add in chicken legs, skin side down.  When the skin is nicely golden brown, turn over and cook for about 2 more minutes.


3. Put chicken in baking dish, place in the hot oven, and bake for about 25 minutes or until meat is cooked through.


4. Eat immediately with salad, or let cool for about 15-20 minutes and shred meat to go on top of salad.


Salad Assembly:

Stack all ingredients as you like and enjoy!  


This is also great for breakfast with a fried egg!! :)


Monday, July 8, 2013

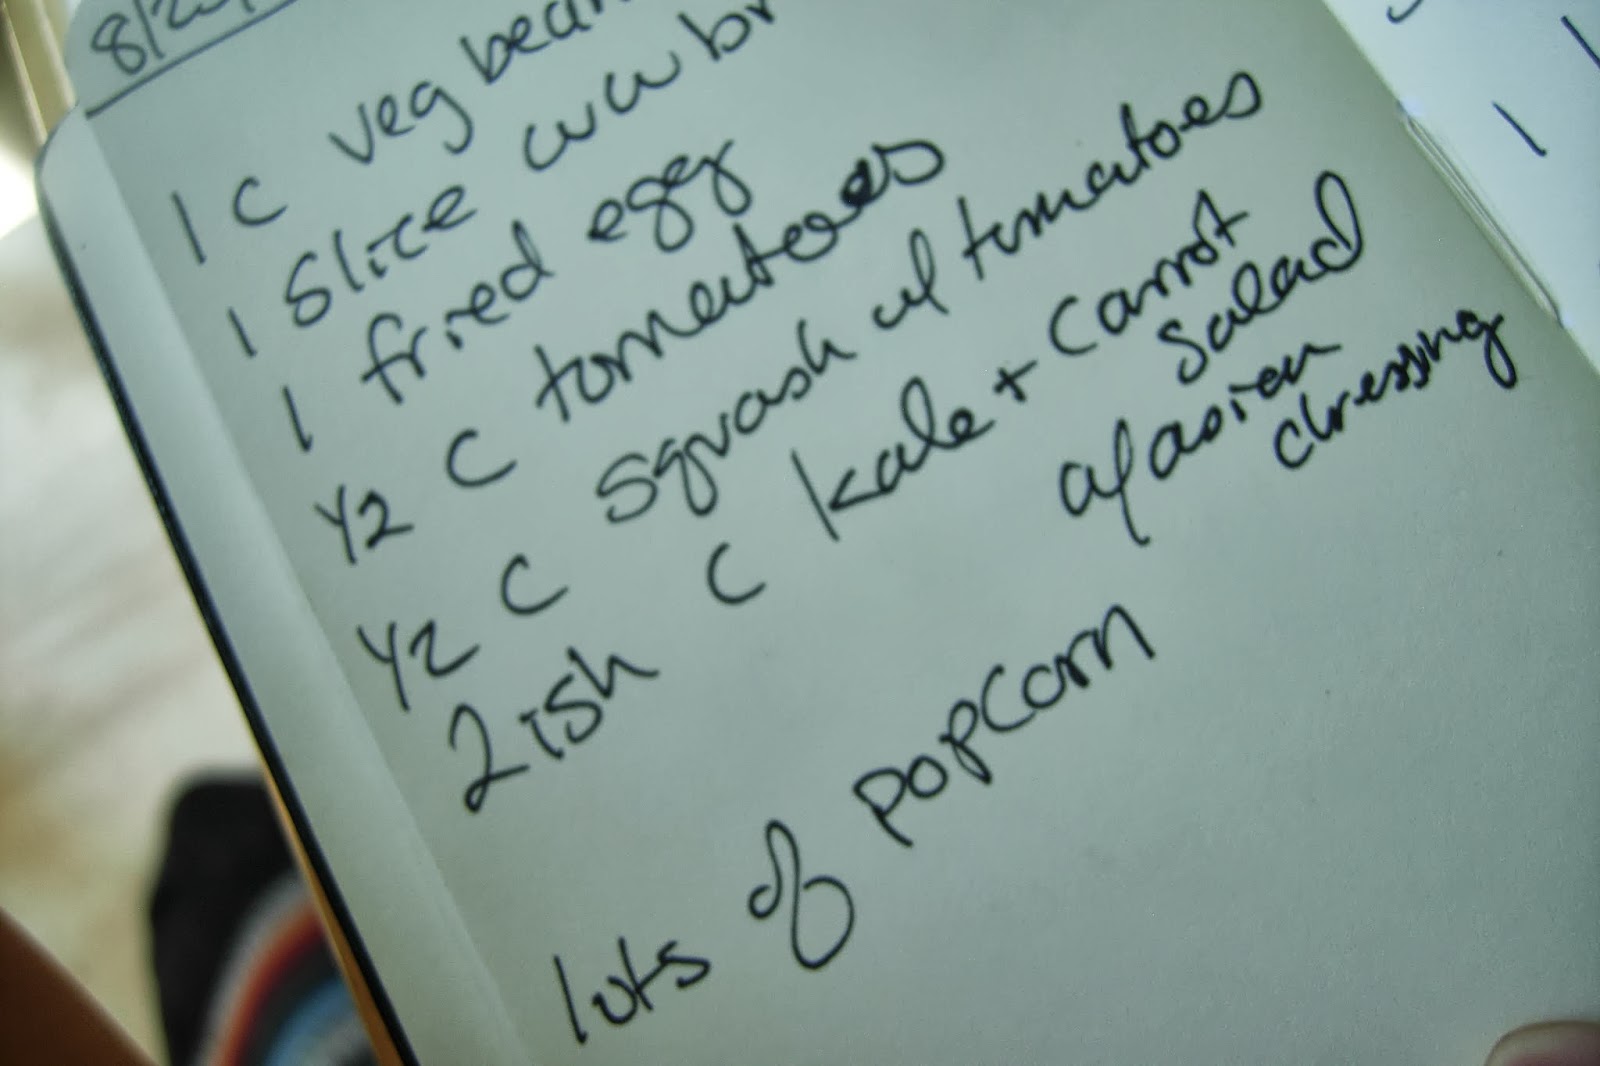
A Personal Journey: Keeping a Food Journal

A few years ago, I discovered I was lactose intolerant.  I believe that I have been my whole life, but it wasn't until I took a nutrition class for my culinary curriculum (where I learned about the effects of food intolerance and allergies) that I started questioning whether dairy was adversely affecting my body.  I decided to go on a food journey, of sorts, by keeping a personal food journal for several weeks while I took dairy out of my diet. What I learned was totally fascinating.  First of all, after about a week, my husband looked at me and said "It looks like you've lost about 20 pounds!"  I had been consistently bloated from eating dairy, and taking it out of my diet had extraordinary results.  Secondly, I learned that it isn't easy to keep a food journal because you are suddenly scrutinizing every little bit of food and drink you consume.  I found myself not wanting to write "ate 3 brownies" because I couldn't fess up to my transgressions...even to myself!  I felt naked, even though no one else was reading my journal.  I had to face myself as I was...and that took a lot of courage.  Thirdly, and most importantly, once I did face my food habits, I started learning where and when I tended to stray from healthy eating.  That was when I began to be able to change.  I saw that I tended to go towards carbs or sugar later in the day, when I was tired or moody.  I also saw when I was eating well, which was usually at breakfast.  I tended to eat less when I had a big breakfast and less carbs throughout the day.  I started feeling a whole lot better, and I was excited because I could see my food choices changing.


I only journaled for two months.  By the end, I felt I didn't need it anymore.  I was more confidant about how food effected my body, and I was more easily making better choices.  My cooking changed, too.  I had to really adjust to not putting cheese on everything.  I had to give up most sweets and even breads because they contained milk or butter.  I had to search out new recipes for cooking veggies or desserts...and went through a lot of terrible experiments!  But, eventually, I found some really yummy foods.  I found that it might be a little painful to change in the beginning, but there are always a new, delicious combination right around the corner!


Not everyone has food issues like I did.  However, I would recommend food journaling to everyone, even if you already have a healthy diet.  It is a great way to get in touch with yourself, become aware of what food you consume on a daily basis, and perhaps change your habits for the better.  Food journaling also helped me become even more passionate about nutrition and cooking!


How to write a Food Journal:

This is a personal experience.  Everyone is going to do it differently.  However, I have some guidelines that will help keep your journal organized.

1. Date each entry.  This is fairly self-explanatory, but important!
2. Time of day.  This is not crucial, but it will give you an idea of how food effects you throughout the day.  Did you only have a small breakfast, then ate too much at lunch?  When are your best/worst times of the day?  What small changes could help you get through the day better?
3. Portions.  I never actually weighed or measured my portions, however I made sure to put an average amount, so I knew how much of something I was consuming.  For example: 1/2 cup soy milk, 1 cup spaghetti, 1 small brownie...etc.

Optional:

4. Bowel movements.  Gross...but good to know.  This will show you if you have a healthy digestion, or need more fiber! ha!
5. Weight.  I'm not big on this one.  I think it is important to be at a healthy weight, but this issue can be very stressful.  I think it is better to focus on eating healthy, with appropriate portion sizes, but it can be helpful if this is one of your goals.
6. Your moods and amount of energy during the day.  How often do these fluctuate?  Does food correspond with these moods?  How is your energy?  How does this effect what or how you eat?
7. How many of each serving did you get that day: grains, veg, fruit, dairy, meat...

Some other suggestions:

*Don't lie.  This was hard for me, but no one else is reading it!  Be honest with yourself...it will pay off in the long run.

One brownie...really?

*Find a cool little notebook to write in.  Make it something special, and it will be more enjoyable to write in everyday.

*Keep an open mind and be open to trying new things.  This may surprise you in wonderful ways!  :)


Wednesday, July 3, 2013

Beating the Heat with Gazzzpacho!

It's gazpacho time!  I always pine for this time of year when the tomatoes, cucumbers, and peppers are ripe. There is no better time to make a big pot of cold, delicious gazpacho.  I used to sneer at cold soups...I thought they were weird and didn't even want to try them.  I thought I wouldn't like a chilled savory soup , so I never ordered it at restaurants or tried to make it myself.  But how wrong I was!  Once I gave it a try, and made gazpacho on my own, I discovered that I really, really like it.  However, this particular soup is only great if all the ingredients are perfectly ripe and fresh.  There's nothing like a tasteless, dry tomato to ruin a good soup.  So, I bide my time until the tomatoes drop in price (meaning they are more abundant), and are sweetly fragrant.  It is even a little early in the season, but I couldn't wait.  And I'm glad I didn't.  The gazpacho I made yesterday was awesome.


This however, is one of the recipes that I can't take credit for.  I used Alton Brown's (I love him!) recipe, which turned out to be perfect.  The prep takes a little longer than I remembered from last time I made it, but the time put in is worth is.  Gazpacho is basically just some pureed veggies with vinegar and olive oil...just like salsa.  And like salsa, you can make it very chunky or puree it smooth.  It just depends on what kind of texture you like.  

Texture is what determines the long prep time.  Tomatoes have tough skins that don't break down easily which makse it harder to achieve a smooth consistency.  In salsa, the tomato skin doesn't matter as much, but if you want a pureed, smooth gazpacho (or even if you like it chunky), removing the skin is essential.  Same goes with tomato seeds.  These can be hard and unpleasant in soup.  So, they have to go, too.  

The best way to remove tomato skins is to quickly immerse them in boiling water, then quickly put then in ice water.  This loosens the skin, but does not cook the tomato.  This, in the culinary world, is called "concasse" (con-ca-say).  It is a great word, and a great skill to have.  It is not only useful in this recipe, but it is great for tomato sauces, canning tomatoes, etc.  Removing the seeds takes little effort: just cut the tomato in half and use your thumb to remove the seeds.


I also wanted to share my experience with balsamic vinegar.  That is one of the major flavorings in this recipe, and I was pleasantly surprised with the vinegar that I bought.  I got it because it was cheaper than some of the organic versions, and I didn't go organic this time because I found the ones I tried to be quite sour.  I haven't bought balsamic in over a year because I didn't like the brands that I was buying.  That being said, I found a super delicious one this time!  It supposedly is straight from Italy (though brands can be deceptive), and it is wonderfully sweet.  I tasted it by itself and it was delicious.  Perfect for raw preparations like salads or gazpacho.  However I cooked with it, too, and it was deeply rich, sweet, and made my dish taste a little like sweet BBQ.  If you can find this brand, I recommend it.  But my whole point is that the vinegar (much like olive oil) that you buy will make all the difference in this dish.  I'm not saying to go out and buy something super expensive (I spent 6 bucks), but just be choosy...and maybe try some different brands until you find something you like.

Gazapacho
From Alton Brown: http://www.foodnetwork.com/recipes/alton-brown/gazpacho-recipe/index.html

1 1/2 pounds vine-ripened tomatoes, peeled, seeded and chopped
Tomato juice
1 cup cucumber, peeled, seeded and chopped
1/2 cup chopped red bell pepper
1/2 cup chopped red onion
1 small jalapeno, seeded and minced
1 medium garlic clove, minced
1/4 cup extra-virgin olive oil
1 lime, juiced
2 teaspoons balsamic vinegar
2 teaspoons Worcestershire sauce
1/2 teaspoon toasted, ground cumin
1 teaspoon kosher salt
1/4 teaspoon freshly ground black pepper
2 tablespoons fresh basil leaves, chiffonade


My version:


*Makes exactly 1 quart (4 cups)

5 medium ripe tomatoes, concassed (directions below)
tomato juice
1 medium cucumber, peeled, seeded, chopped in med dice
1 red bell pepper, seeded and chopped med dice
1/2 cup red onion, chopped
3 small jalapenos, seeded and chopped *removing the seeds makes it less spicy
2 garlic cloves, minced
1/4 cup olive oil
1 lime, juiced
2 tsp balsamic vinegar (or more to taste)
salt, to taste (I used about 1-2 tsp)

Additional toppings:

crushed tortilla chips
sour cream
chopped, fresh basil or cilantro
toasted or grilled bread rubbed with a garlic clove (what doesn't go well with this?)

1. Fill a large pot with water and bring to a boil.  Wash tomatoes and cut a shallow X in the bottom of each one.  This will help the skin peel back.  Fill a bowl with ice water and set aside.

2. When the water is at a full boil, add in tomatoes.  Simmer tomatoes for about 15-30 seconds until their skins start to split and the X begins to peel back.  Immediately take out tomatoes and add to ice water.


3.  When tomatoes have chilled for a few seconds, take them out and peel off their skins. 


Cut them in half.  Set up a bowl and strainer to catch the seeds and juice.  With your thumb, dig out the seeds from the tomatoes over the strainer to catch the tomato juices.


4. Let the seeds drain, then chop the tomatoes in a medium dice, put in a large bowl, and set aside.


5. Chop all the other veggies and add to chopped tomatoes. 

Peel...

cut in half...

use a spoon to scoop out the seeds, then chop!


6.  Add vinegar, olive oil, lime juice, garlic, and a little salt (about 1 tsp) to veggies.

7. Add veggie mix to a food processor or blender.  You might have to do a few batches.  Make sure to divide the juices evenly in each batch so it blends well.  Pulse until the veggies are small and chunky.  You can leave it like this, which is nice.  Or puree veggies until smooth.  Add chunky or pureed soup back in the bowl, stir, taste, and season as necessary.  Add more vinegar first, then add salt.  This recipe shouldn't need much salt because the veggies are so flavorful themselves!


8. Eat immediately, or chill for 2 hours or overnight to let the flavors marry.


My soup was cold, sweet, and satisfying.  Perfect for a hot day!  I can highly recommend this recipe.  The prep time is totally worth it.  I ate it without any toppings, but I really wanted some crusty, toasted bread to go with it. I made some bacon beans with kale instead (see BONUS recipe for bacon beans soon!)


ENJOY!!!

Tuesday, July 2, 2013

And...we're back! With Steak Taco Salad!

It's summer time!  And I'm back after a whole month of fun family activities!  I've been to Colorado and back, then to the gorgeous Oregon beach, then back to Portland.  Of course, I meant to take pics of all the yummy food I experienced along the way, but...well...I usually gobbled it up too quickly to remember to take a picture!  I guess I really need a smart phone.  Then I can be one of the annoying people that take a million Instagram pics of every meal they eat during the day. Or maybe I'll just keep enjoying my food without worry.  That's the best way to enjoy vacation!  I did take a few pics of the most enjoyable meal with my parents, brother, and in-laws (I'm so blessed that we all get along!).  I had to share it because it was the quintessential summer meal: cauliflower tabbouleh, green salad with lime vinaigrette, juicy grilled chicken, grilled corn with jalapeno butter, and to end it all, a gluten-free brownie with berries in sugar and lime juice.  YUM!  


The rest of the food was typical, but delicious summer fare: hot dogs, fish and chips, thick ham sandwiches, and, of course, big fried egg breakfasts!

Yesterday, I made myself a pot of Chai sun tea, and an outrageously good Steak Taco Salad! 


Since the weather has been so hot here (well, it's been in the 90's...sry Phoenix peeps with your 118 degrees. I guess I shouldn't complain), I've been craving cold food, mostly salads.  But not just any salads...really awesome, complicated salads.  A green salad with some veggies is perfect as a side dish, and is nothing to thumb your nose at.  However, when you want a whole meal out of a salad, it is necessary to get a little more creative.  My favorite salads have a plethora of flavors, textures, colors, even temperatures.  My steak taco salad is a good example of how to add in all of these things easily and cheaply!

A great complex salad is all about the different components, and making them each taste delicious.  When combined, a fantastic salad is created where every bite is slightly different in flavor or texture, but no less delicious from the last.  The components for the Steak Taco Salad are as follows:

1. shredded cabbage salad with cilantro sprinkled with lemon juice
2. fresh pico de gallo salsa
3. caramelized onions, bell pepper, and jalapeno
4. Pan-fried steak slices
5. Other additions? Crumbled corn chips for crunch, a sprinkle of lime juice over everything (I only had lemon), black beans, cheese, green lettuces, other veggies such as shredded carrots, red bell pepper, or corn

We enjoyed this salad at room temperature, but it would be great for the steak and peppers to be hot on top of the cold cabbage.  Whatever suits your fancy!


Pan-fried Steak
makes 2 portions, about 6-8 oz each

3 small tri tip steaks (or other steak that you prefer...these were just cheap!), about 1/2-1" thick
salt 
pepper
coconut or olive oil for frying
baking sheet with rack for resting

1. Salt and pepper steaks very well.  Set aside.


2.  Heat a wide saute pan on medium high heat.  Add in enough oil to coat the bottom of the pan.  Heat oil until it shimmers and pulls away from the sides of the pan.  Avoid heating oil until it smokes...this means it is burning.
3.  Immediately add in steaks.  Cook on one side until dark golden brown.  Turn over and repeat.  This should take about 2-3 min per side. Immediately add in your onions, peppers, and jalapenos and saute (see below!)


This delicious pan is perfect for frying up your onions and peppers!

NOTE: if your steaks are thin, like mine were, they will cook perfectly in the pan.  If they are thicker than 1", they might need to be finished in a hot oven for a few mins.  It just depends on how rare you like them! 

4. Put steaks on a baking tray with a cooling rack.  Rest steaks for about 5 mins.  They should be a nice medium to medium well done.


NOTE: Steaks can overcook if left in their own juices.  The cooling rack helps prevent them from overcooking.  Mine turned out to be a nice medium-well.  

5. Slice thinly against the grain.  Serve hot or cold on salad.


Caramelized Onions, Peppers and Jalapenos
makes about 3-4 cups

1 large onion, julienned (thinly sliced half-moons)
2 bell peppers (I used green because they were cheaper, but other colors are delicious, too!), julienned
3 jalapenos, thin slice
salt to taste
oil for frying OR use the delicious steak pan!


1. In your hot pan used for your steak, add in onions and peppers and about 1 tsp salt (more or less to taste).  Or heat a new pan with oil on high heat.  Keep the heat high...you want the onions and peppers to brown, not boil in their juices.  Adjust the heat as necessary to slowly brown and soften them.  Add more salt as needed.  They will be done when they are sweet and soft, but still have a little crunch to them.
2.  Serve hot or room temp on steak salad.


Fresh Pico de Gallo Salsa
makes about 1 1/2 cups

1 small onion, about 1/4 cup minced
2 medium tomatoes, small dice
2 jalapenos, seeds removed and minced
1/2 cup cilantro, chopped fine
salt to taste
lemon or lime juice to taste

1. Mix together and adjust seasonings to taste.  Serve immediately, or refrigerate to let marinate.

Assembly for 1 salad:

1 cup cabbage salad with a sprinkle of lemon juice
1 cup hot or room temp onions and peppers
1 handful hot or room temp steak slices
1/2 cup pico de gallo
a sprinkle of lime or lemon juice


ENJOY!!!


Sunday, June 2, 2013

Hiatus

Hey folks!
There haven't been posts recently because I'm on my summer vacay!  I'm in (beautiful, but super dry) Colorado for my brother's graduation, then we're all driving back to (beautiful and super moist) Portland and spending a week on the beach!
I hoping to take some pictures of my food journey the next few weeks, so stay posted.  Last night I cooked some Mediterranean braised chicken and my cauliflower tabbouleh for my family.  And I'm sure we'll be making some more delicious dinners in the future!

Hope you are all cooking and enjoying the beautiful early summer weather!